Duda CMS Platform Instruction
A Dynamic Guide for ADVANTECH Marketers.
01
Getting Started

02
Content Creation
03
Management
01 Getting Started
Duda CMS is a powerful content management system that offers an intuitive interface and a wealth of tools, enabling users to easily create, edit, and manage website content. This manual is designed to help marketers efficiently use the Duda CMS platform to optimize marketing workflows and enhance website performance.

1.1 Access Authorization
Before you start using the Duda CMS platform, please contact the IoTMart Digital Platform & Experience Team to assist with access authorization.
Contact | abby.dong@advantech.com

1.2 Logging in
Once access is granted, you will receive the Login URL to enter the Duda.
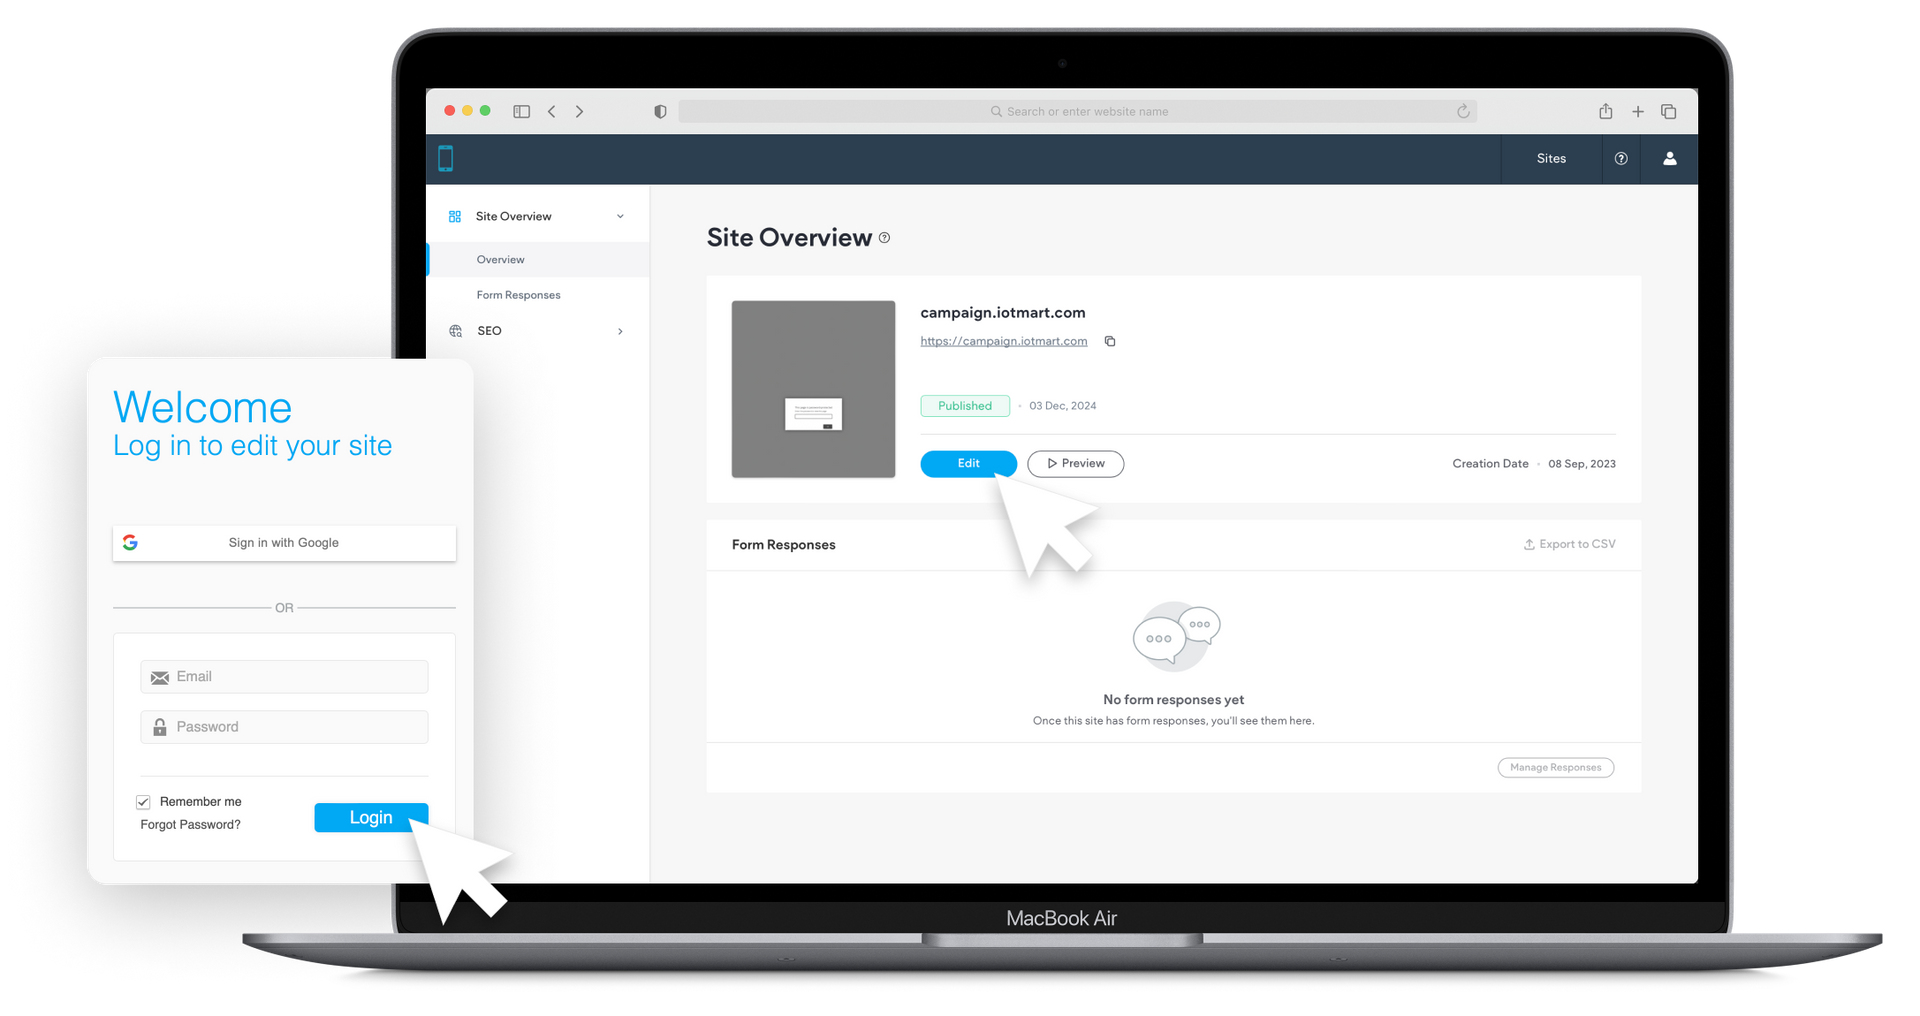
STEP1. Login
Use your account (___@advantech.com) and set password to log into Duda. The Login URL expires in 30 days, so make sure to access it and set your password before then.
STEP2. Enter Edit Mode
On the Site Overview page, click “Edit” to enter the edit mode.

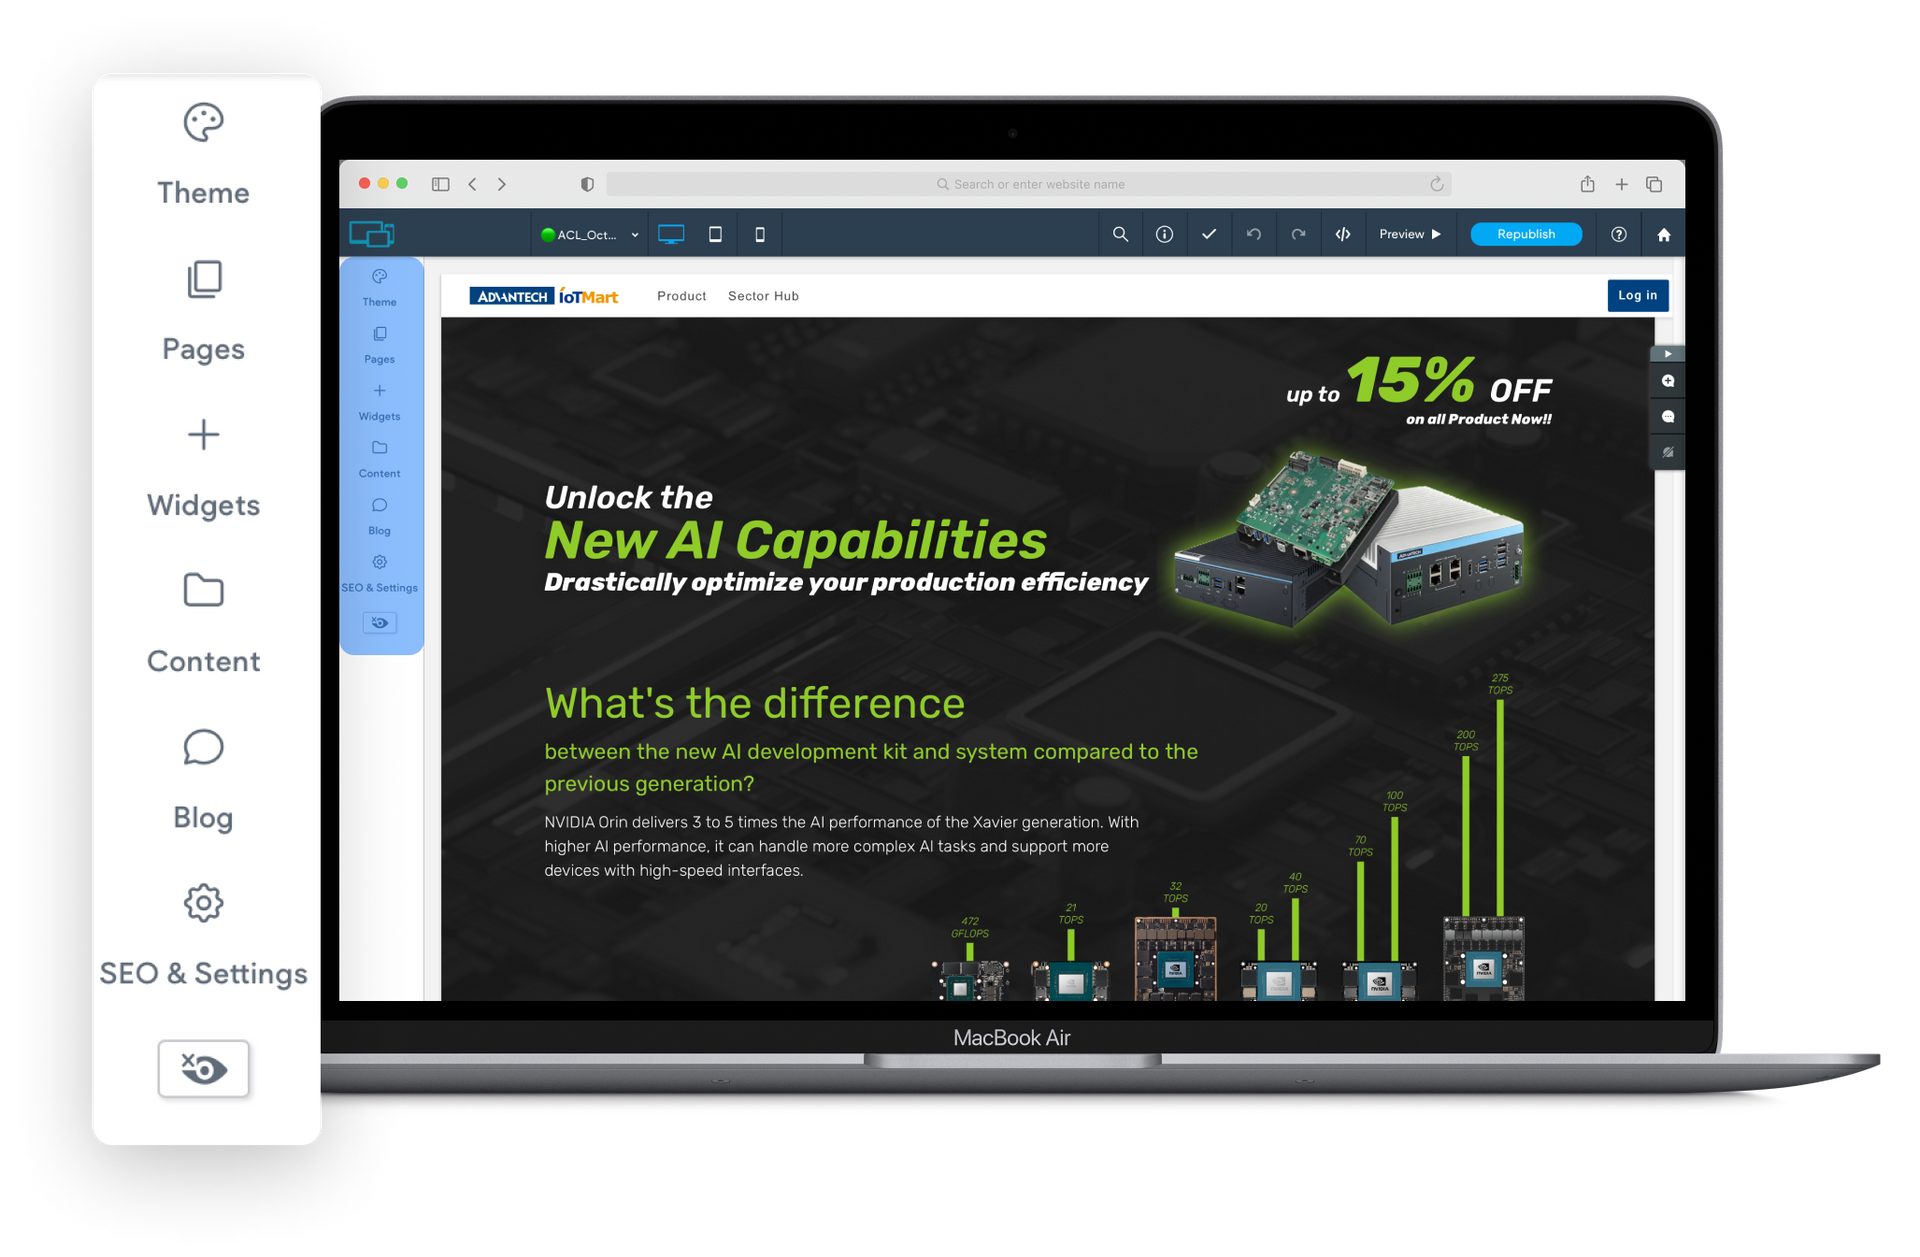
1.3 Functions Overview
Sidebar Functions
[ Theme ]
Stores IoTMart’s corporate identity design specifications.
[ Pages ]
View all pages
[ Widgets ] Easily inserting visual components.
[ Content ]
Media Manager: Upload images and videos.
[ Blog ]
[ SEO & Settings ]
*Note: Please avoid modifying the theme.
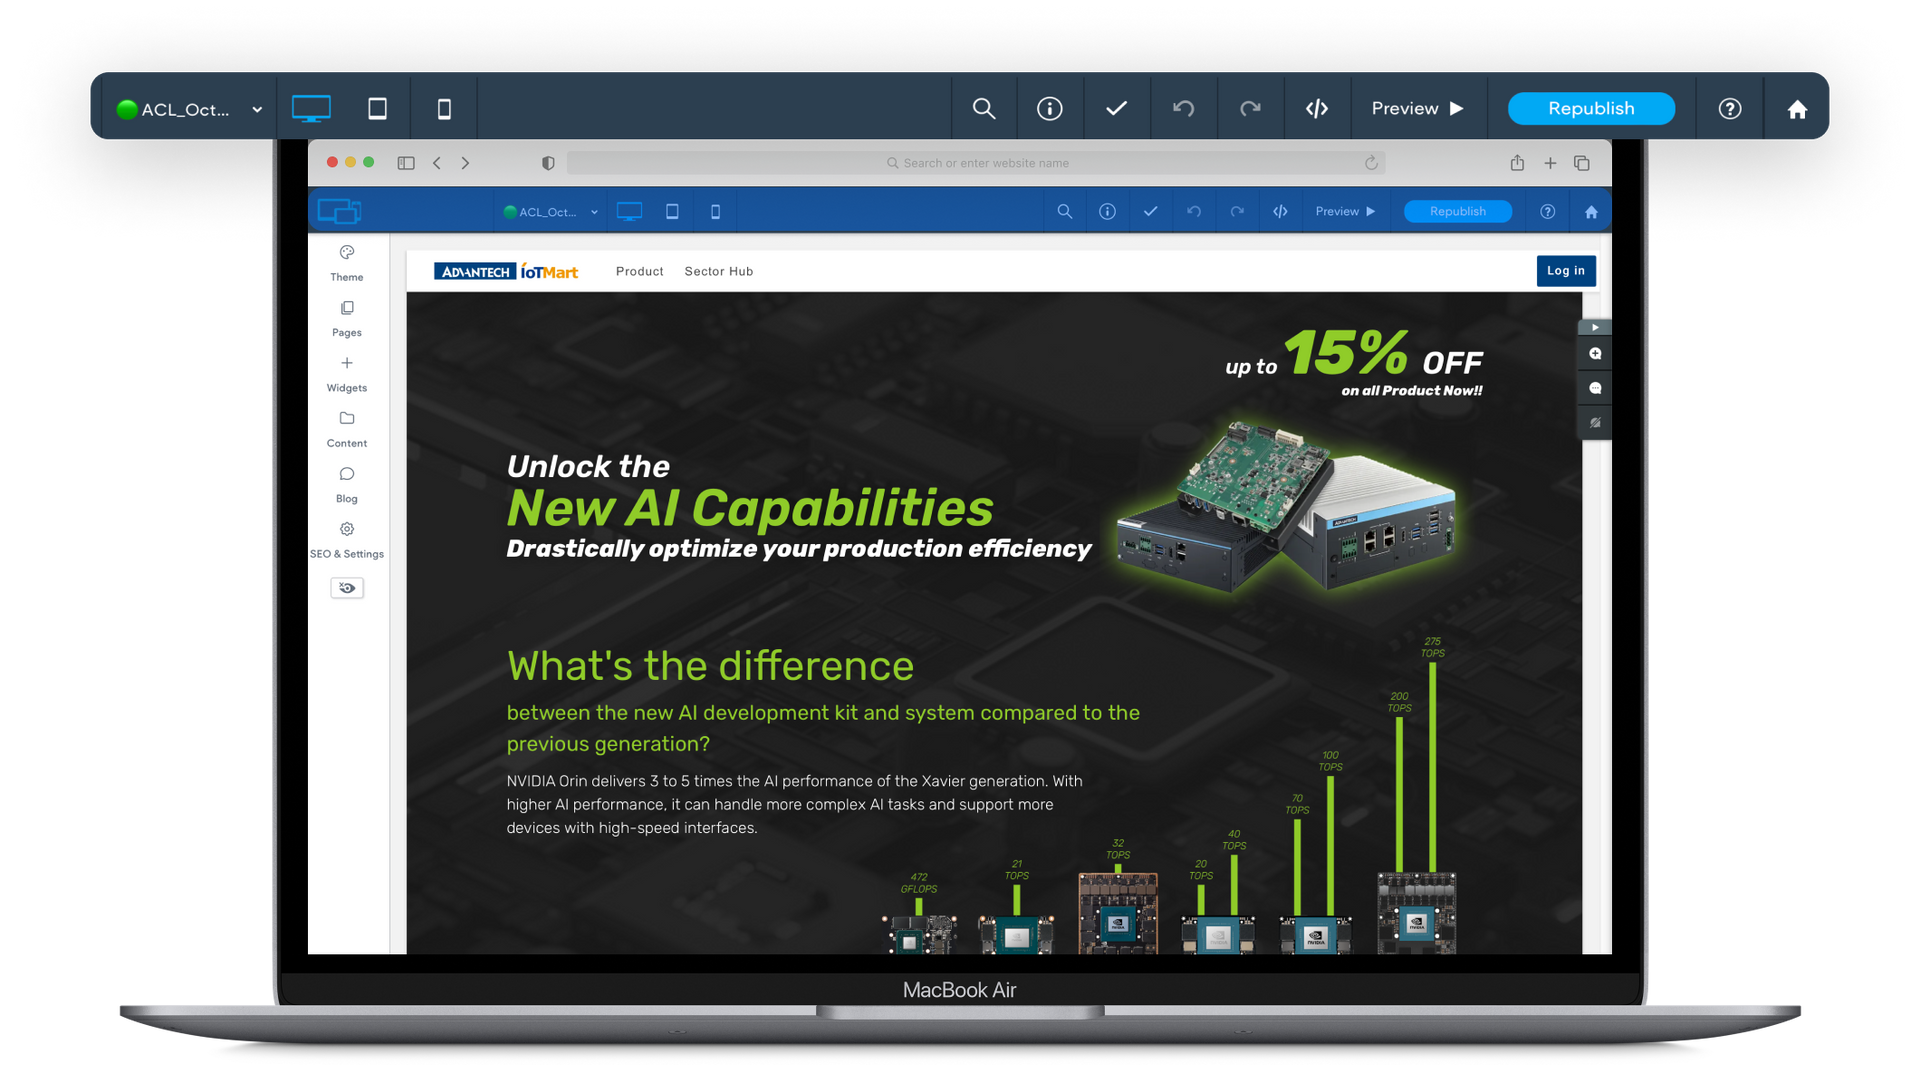
Navigation Bar Functions
[ Page List ]
Quickly switch to different pages for editing.
[ Device Size ]
Edit pages on different widths of devices.
[ Undo/Redo ] Undo or redo actions.
[ Dev Mode ]
Enter code editing mode.
[ Preview ]
Preview the actual display of the page.
[ Publish / Republish ]
Publish the changes.
[ Home ]
Return to the Site Overview homepage.
02 Content Creation

2.1 New Page Creation
To create a new page, please follow these steps:
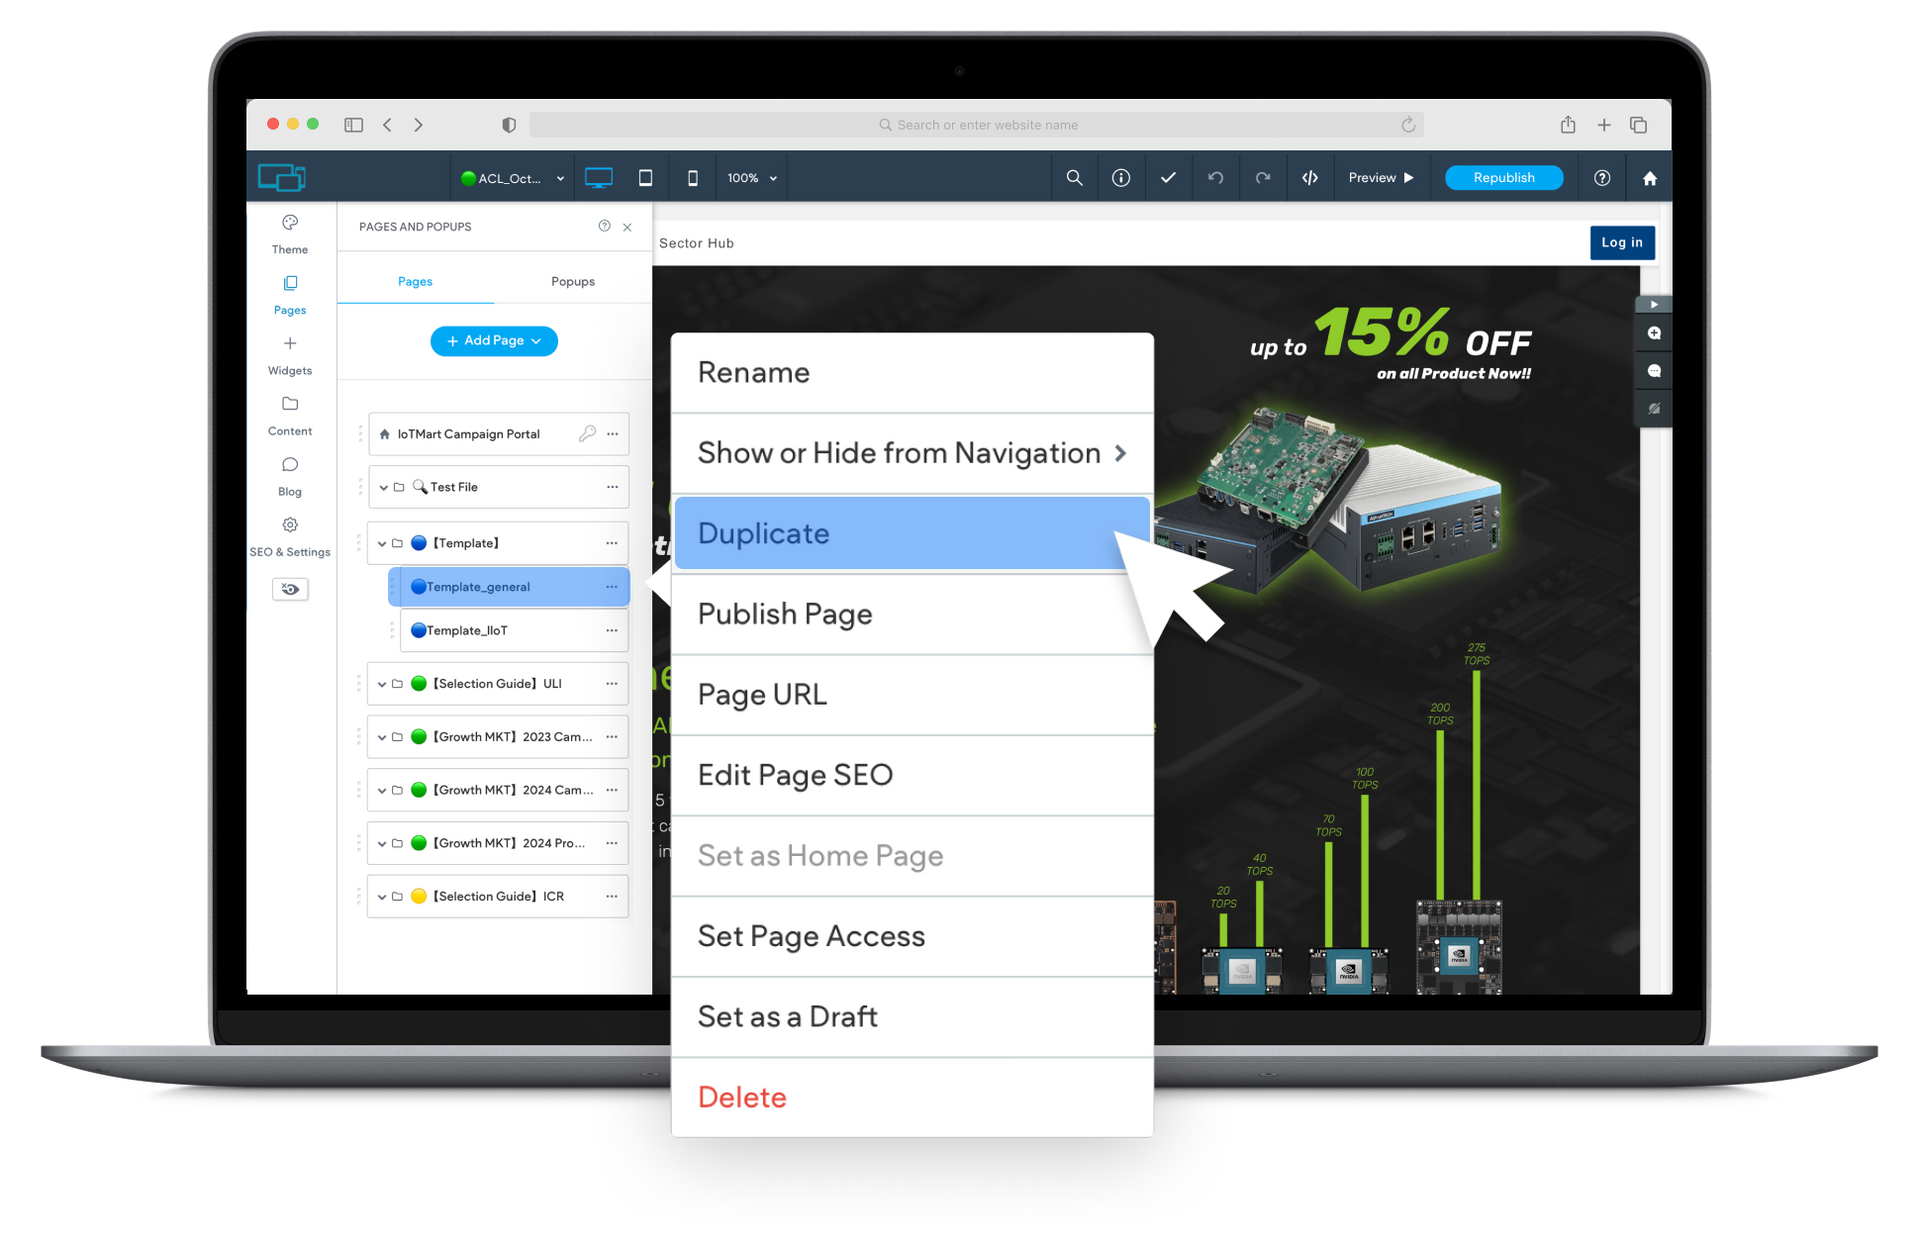
(1) Duplicate a Template Page.
Find the template page in the sidebar, and select “Duplicate”.
(2) Name the page, Rule: (Label) Country_MonthYear_EventName
Label -
🟢Published / 🟡Unpublished
Country -
Where the event is held (e.g., ACL, AJP, AEU).
MonthYear - When the event is held (e.g., Oct2024).
EventName - A short name for the event.
*Note: Please avoid modifying the original template pages, so as not to affect the work of other colleagues.

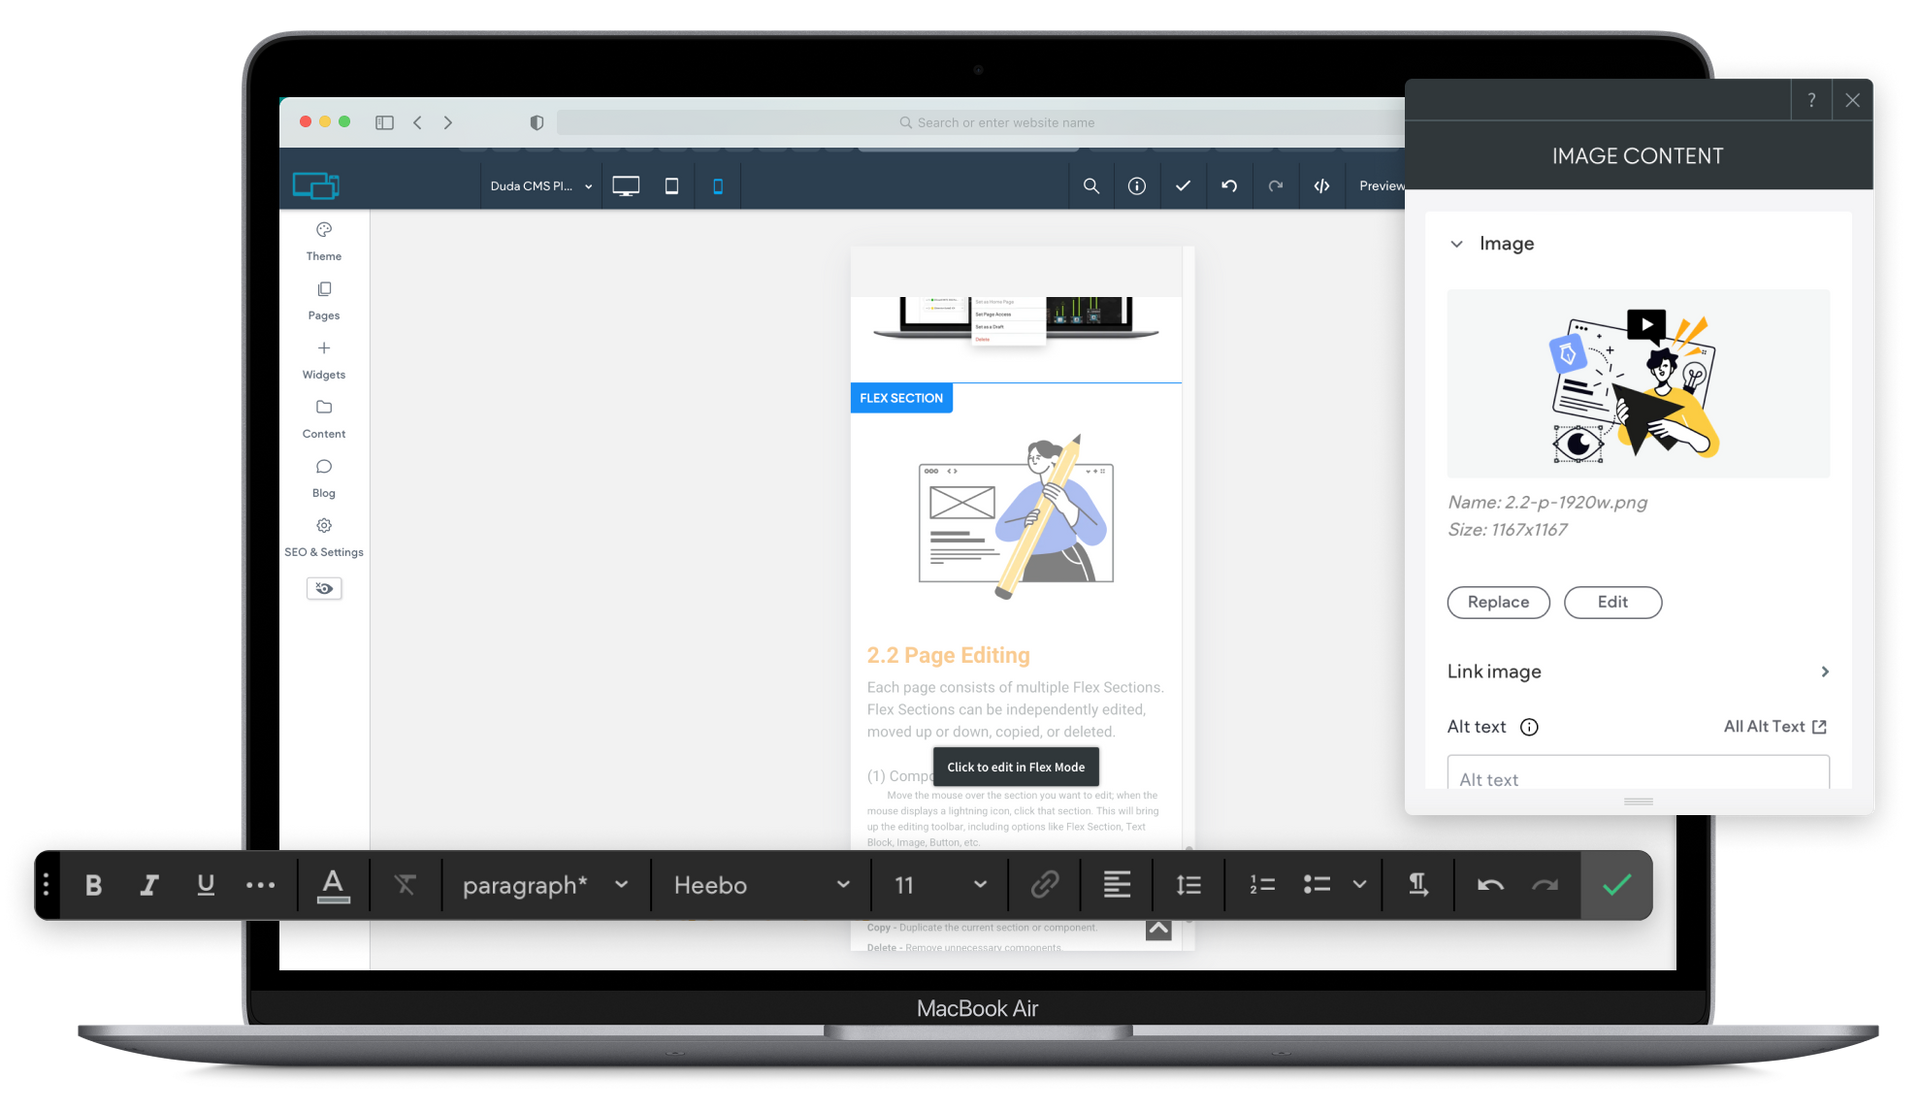
2.2 Page Editing
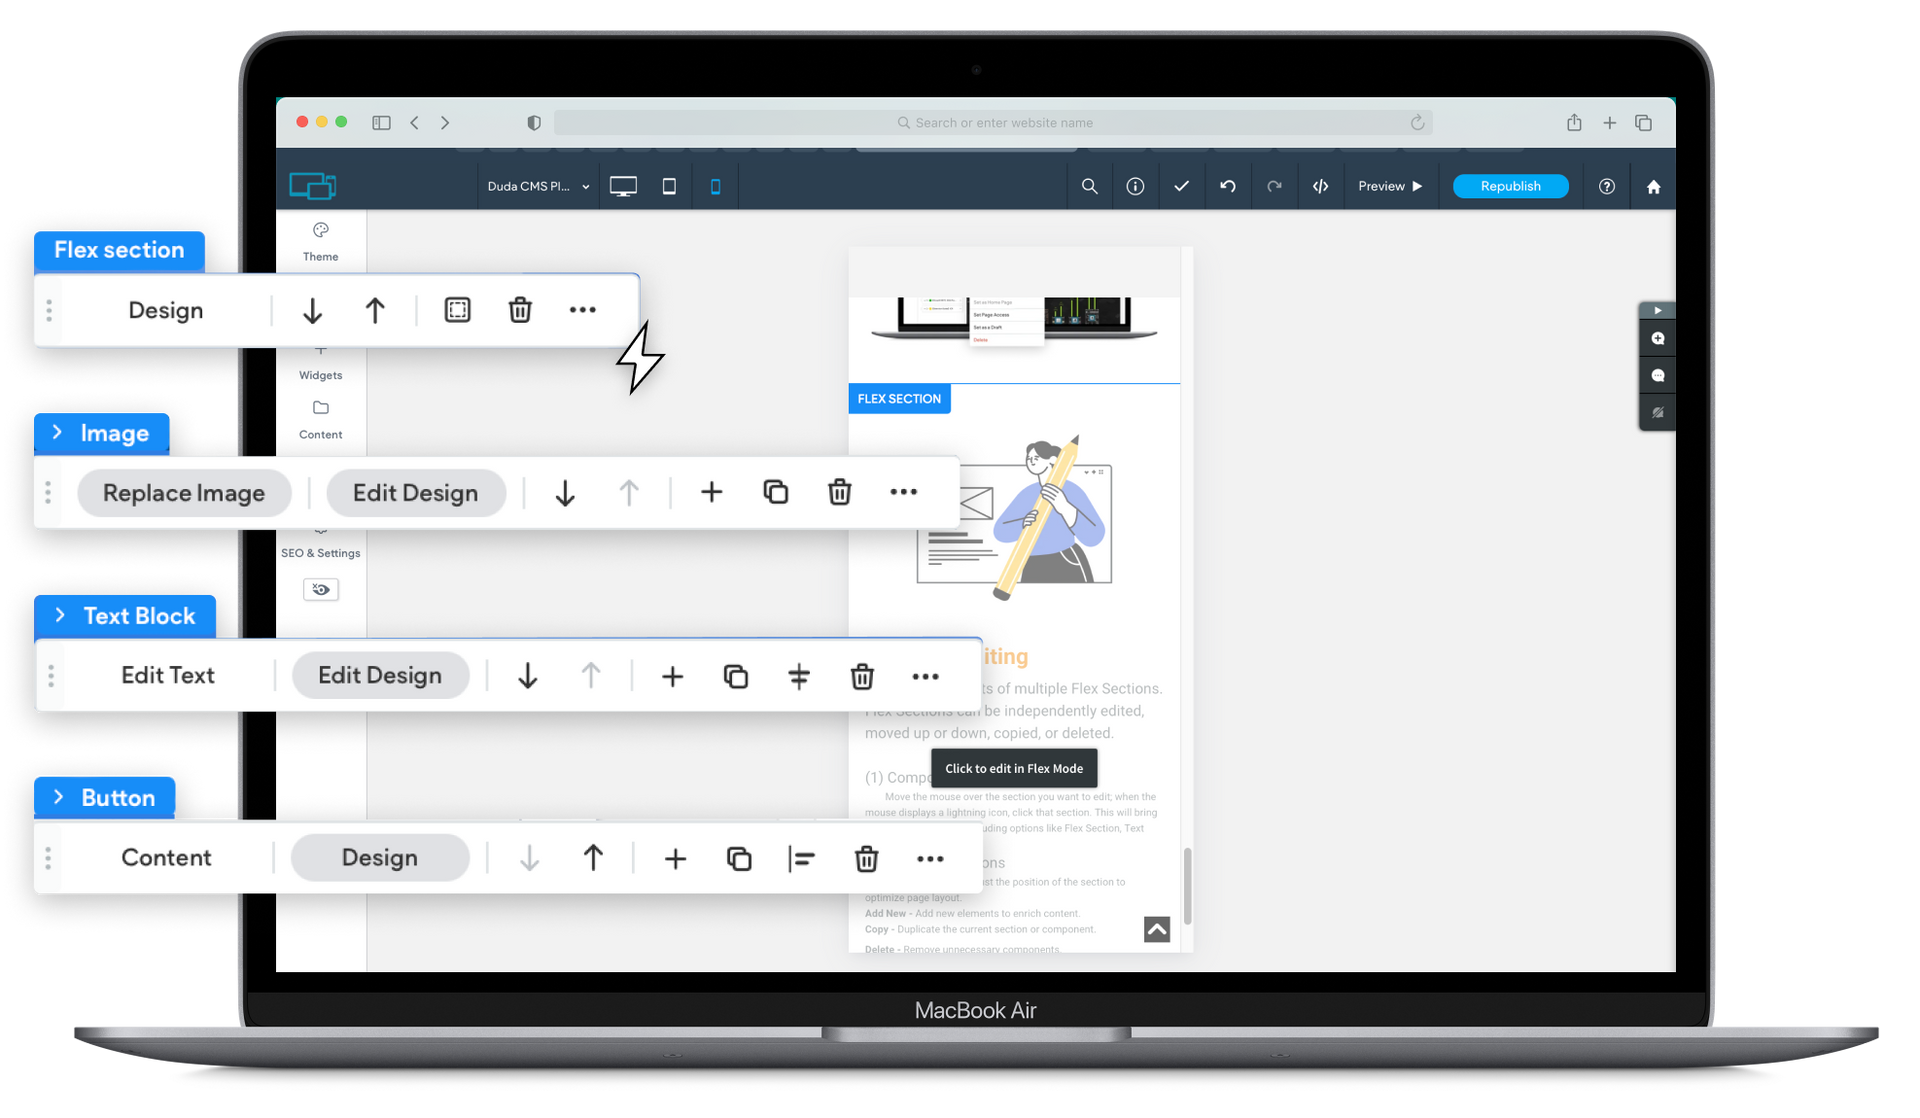
Each page consists of multiple Flex Sections. Flex Sections can be independently edited, moved up or down, copied, or deleted.
(1) Component Editing
Move the mouse over the section you want to edit; when the mouse displays a lightning icon, click that section. This will bring up the editing toolbar, including options like Flex Section, Image, Text Block, Button, etc.
(2) Toolbar Functions
Move Up/Down -
Adjust the position of the section to optimize page layout.
Add New -
Add new elements to enrich content.
Copy -
Duplicate the current section or component.
Delete -
Remove unnecessary components.
(3) Text Editing
Click on the text component to directly change and edit the text content, including font size, color, etc.
(4) Replacing Images
Click on the image component, select “Replace Image”, and upload a new image from the media library or your local drive.
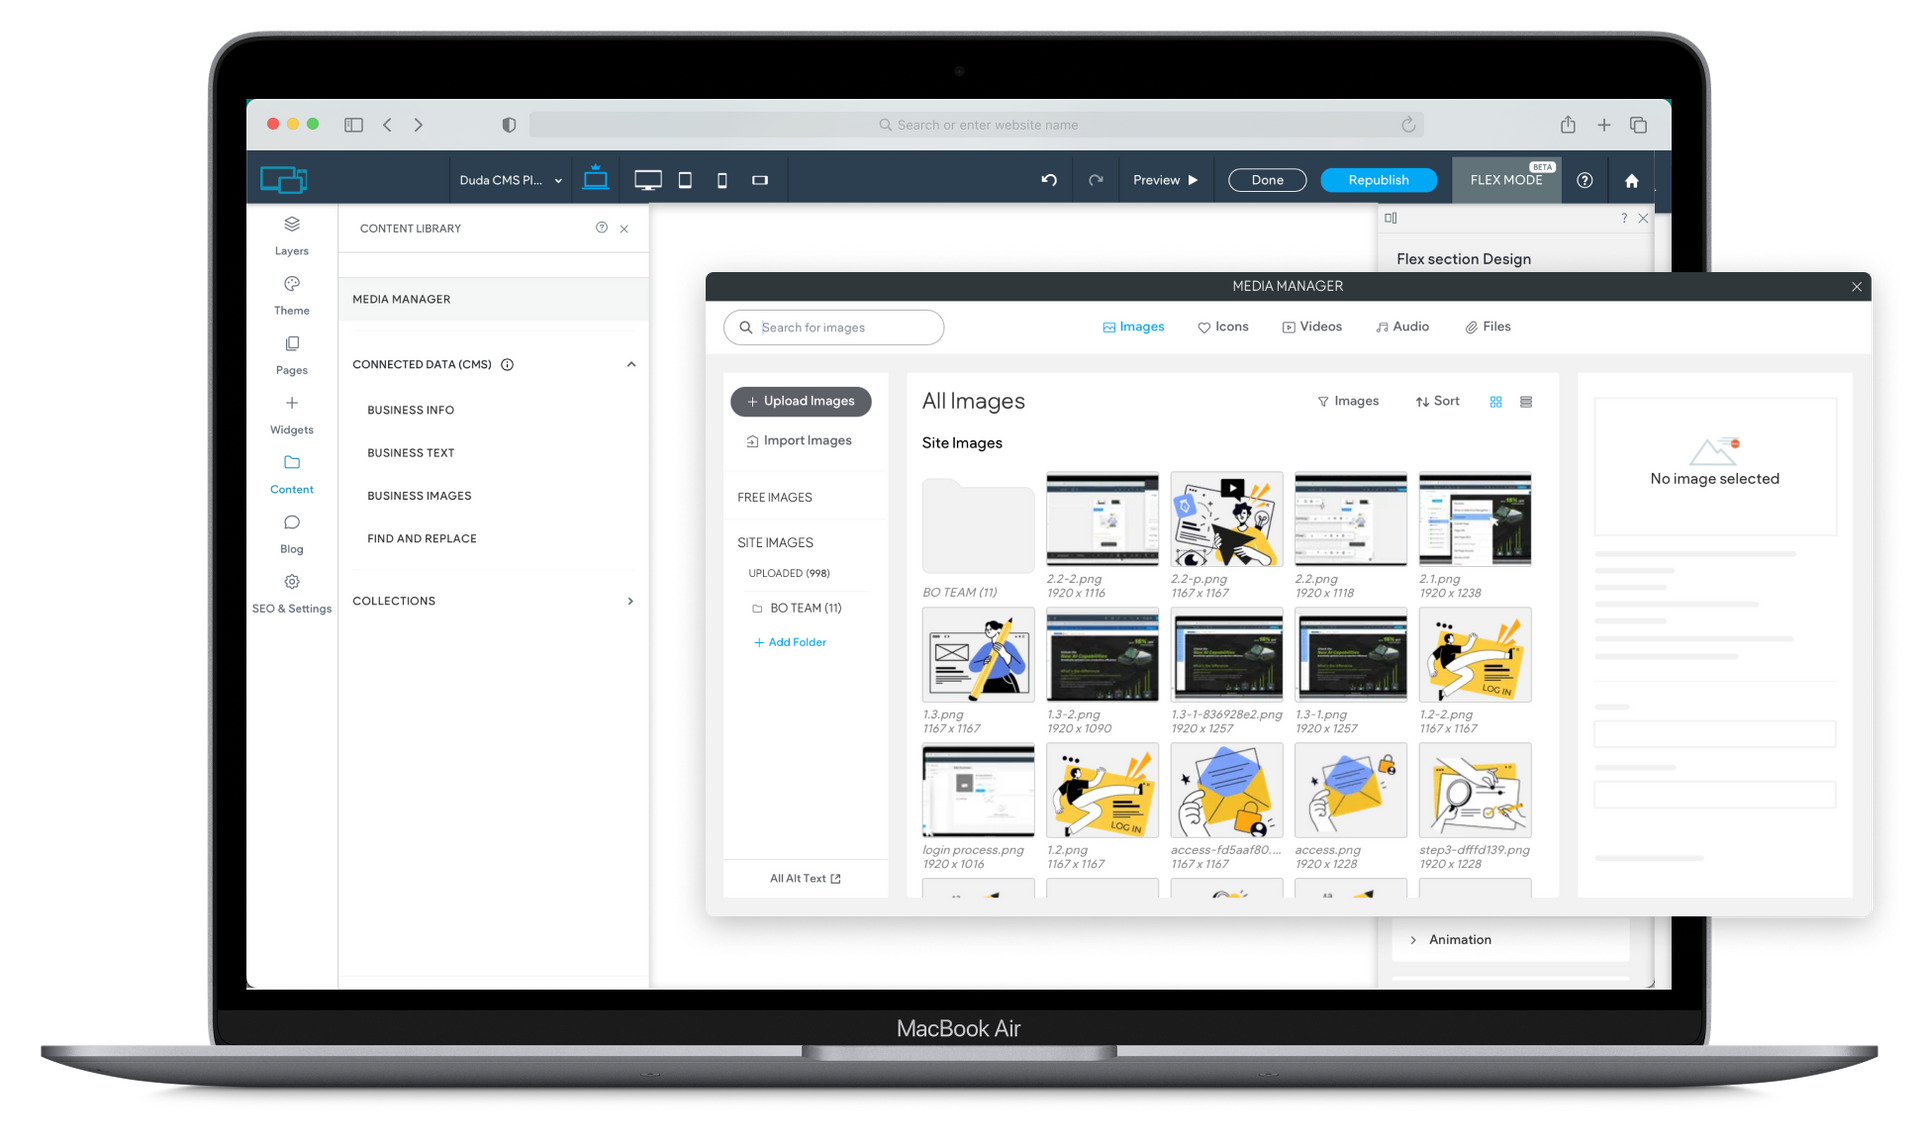
2.3 Media Management
(1) Uploading Media Files
In the sidebar, click Content, then select Media Manager.
Click “Upload Media”, and select the image or video files you want to upload.
(2) Managing Media Files
Organize media assets using folders for easy management. Please do not modify media files uploaded by others to avoid affecting published content.

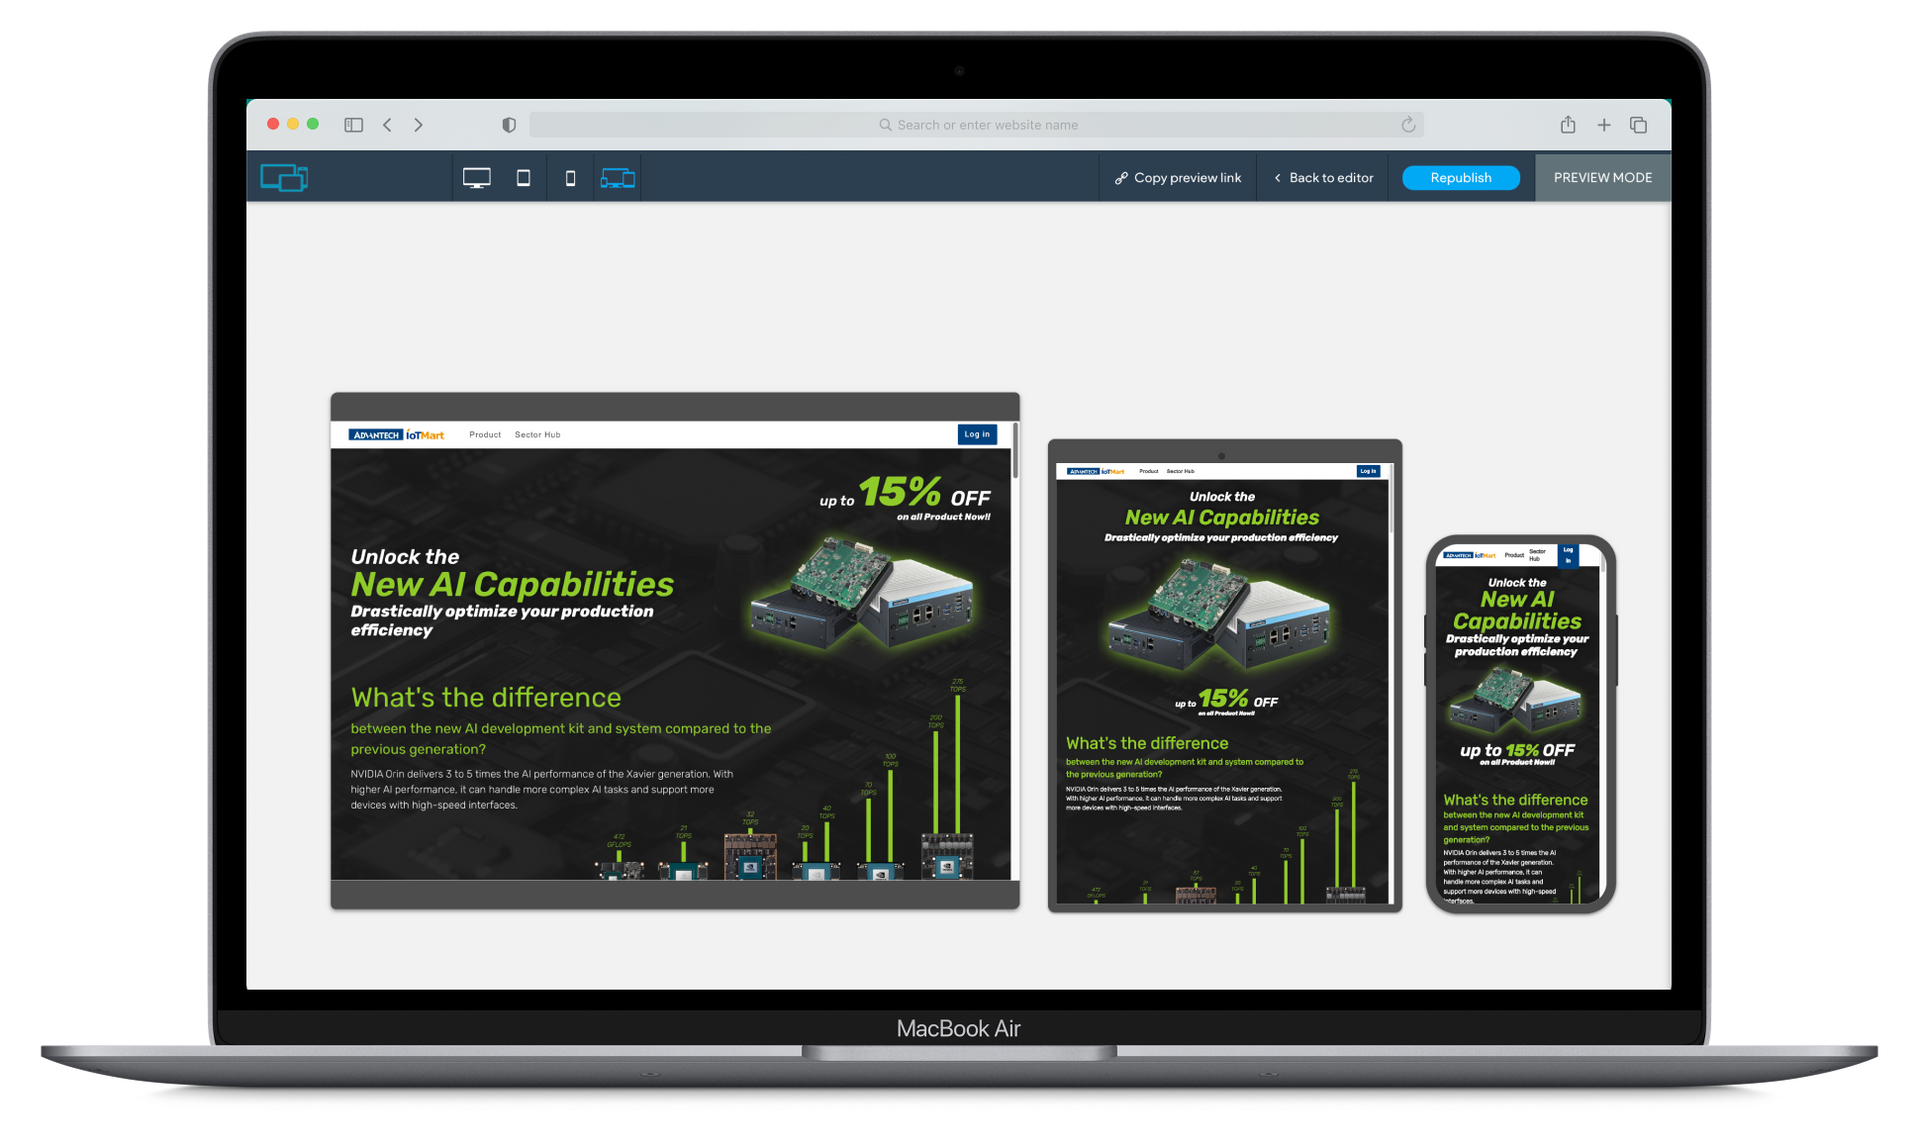
2.4 Multi-Device Optimization
(1) Responsive Web Design (RWD) Layout Optimization
Adjust components and layouts as needed to suit various screen sizes and enhance user experience. Use the Window/Device Size function in the navigation bar to see how the page displays on desktop, tablet, and mobile devices.
(2) Preview Content
In edit mode, click the “Preview” button in the navigation bar to see the actual display of the page.
03 Management
3.1 Publishing
Publish Content - After confirming all content is correct, click the “Publish” button to make the page live.
3.2 Review Process
Please proactively notify the IoTMart Digital Platform & Experience Team to review the content. This helps ensure the quality and consistency of website content and compliance with the brand standards.